................................................Return to Harv's Index Page
.....................Previous Page..................................................................Next Page.
............................--- Building the Body Part II ---
................................
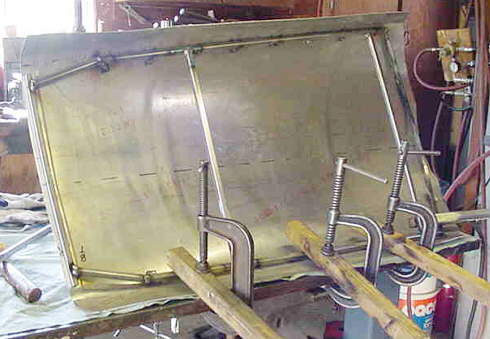
I found some old left over 1/2" square hollow pickets from a wrought iron railing I made so I used it for the frame.I used the roll cage for a template to fabricate the frame. I clamped the frame to the canopy and welded the 3/16 X 3/4 flat bar tabs to fit the canopy. The tabs were drilled and countersunk first. The flat bolts and nuts were installed and tightened into the aluminum to form the dimple. I had trouble with the aluminum starting to crack out of the drilled hole that the 1/4 20 SS flat head screw went through. I tried several methods to dimple these and finally found out that drilling a larger hole (19/64) did the trick
............................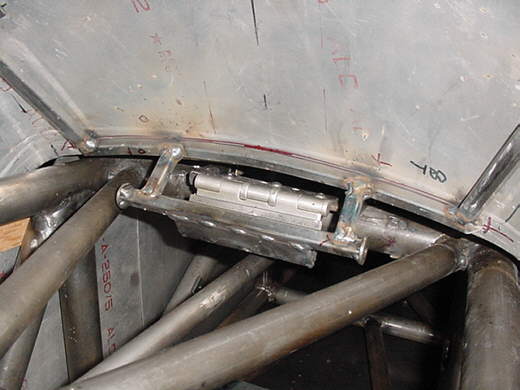
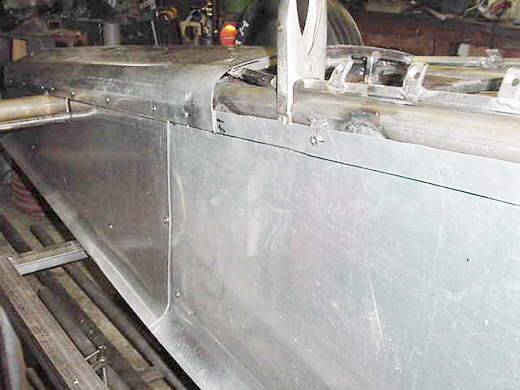
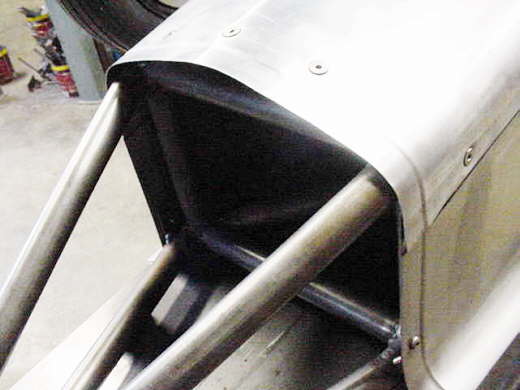
The canopy hinge: took forever to make it work the way I wanted. It hinges right above my feet ( 2"), so I couldn't use a couple of long hinge arms. I'm going to use couple of lift struts to push the canopy back and up.
............................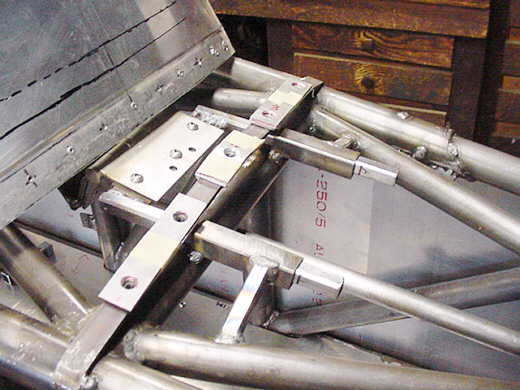
The whole hinge assembly will slide back about a inch and a half to the stops (stops not shown here), then will swing on the hinge to fully open. This process was needed because of the peak in the hood and to allow the canopy front to tuck under the hood.
...........................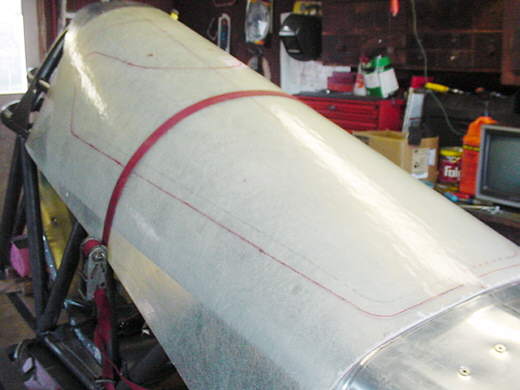
Making a pattern for the windshield: I laid a piece of fiberglass sheeting ( left over from a hot house I built about 32 years ago. I never throw anything away) and traced the shape of the windshield on it.
.........................................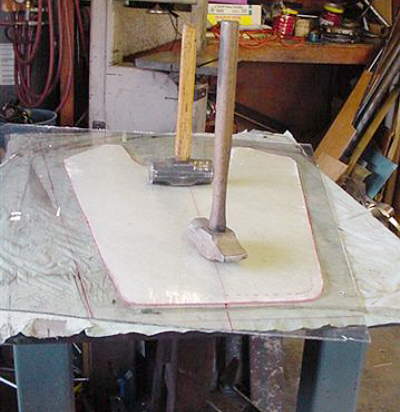
Cut it out to the required shape and laid it on the polycarbonate. Drew 2" outside of the required shape and cut it with a sawsall. I used a small fine metal cutting blade.
I plan on waiting for some of our 3 digit summer days before I form the polycarbonate. over the cotton flannel covered aluminum. I plan on heating the plastic in a box with a space heater to around 260 degrees first. After the shield has cooled it will be trimmed. This part of the project is not looked forward to with much confidence. Now you see why I haven't cut the canopy view hole yet. It's been difficult not to cut it out so I could sit in it and peer down the hood at the imaginary salt. Now it reminds me of some instrument training I did years ago and that I suffer from claustrophobia.
............................
I've been using a Harbor Freight beading machine for the flanging of the panels. It's a little tricky to use. I tried to use it with a home made guide but didn't have much luck with that. I've been guiding it by hand and getting better results. It's turned by one wife power.
............................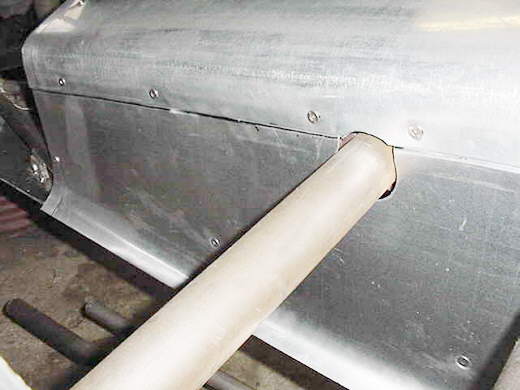
Some of the material I've used is 2024 T3. It not easy to form. I had a full sheet of it in .032 thickness so felt obligated to use it. The edges shown here are not laying laying tight and straight in the flanged areas. I don't have a shrinker or hardly any other metal working tools for that matter so I'll have to do with less than perfect.A little thicker material in 3003 would have been better to work with, no doubt.
..............................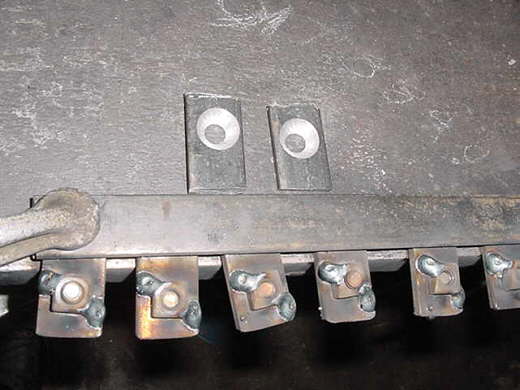
A one at a the time consuming (boring) job is making panel tabs. The holes are countersunk for the dimples in the sheet metal that are formed by the flat head socket screws being tightened into the tabs. I made a tool to put the dimple in that does a nicer job but doing it with the screws into the tab locates the dimple better.
............................
Ready for the nose: I'll probably make the nose with fiberglass. I don't have any of the sheet metal tools to make it out of aluminum and if it gets damaged, I will have the mold already made to lay up another..........
.........................................................................Next Page